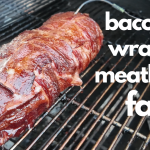
We moved in about a year ago. The Family room was covered with a dark green carpet – kind of strange. Even stranger was this platform at the one side of the room. I was going to remove it, but the tile doesn’t go under it – it butts up against it. I figured we should maybe just turn it into something.. like create built-ins or some fancy TV stand, but nothing exciting popped into my head until 2 weeks ago when we figured out it’d be the perfect place for a bar!
First, you need to see what we were dealing with here.
It’s worse with the carpet ripped off, yes, but we also wanted to get rid of that dark green carpet asap – especially since I already replaced the green carpet with laminate flooring for the room.
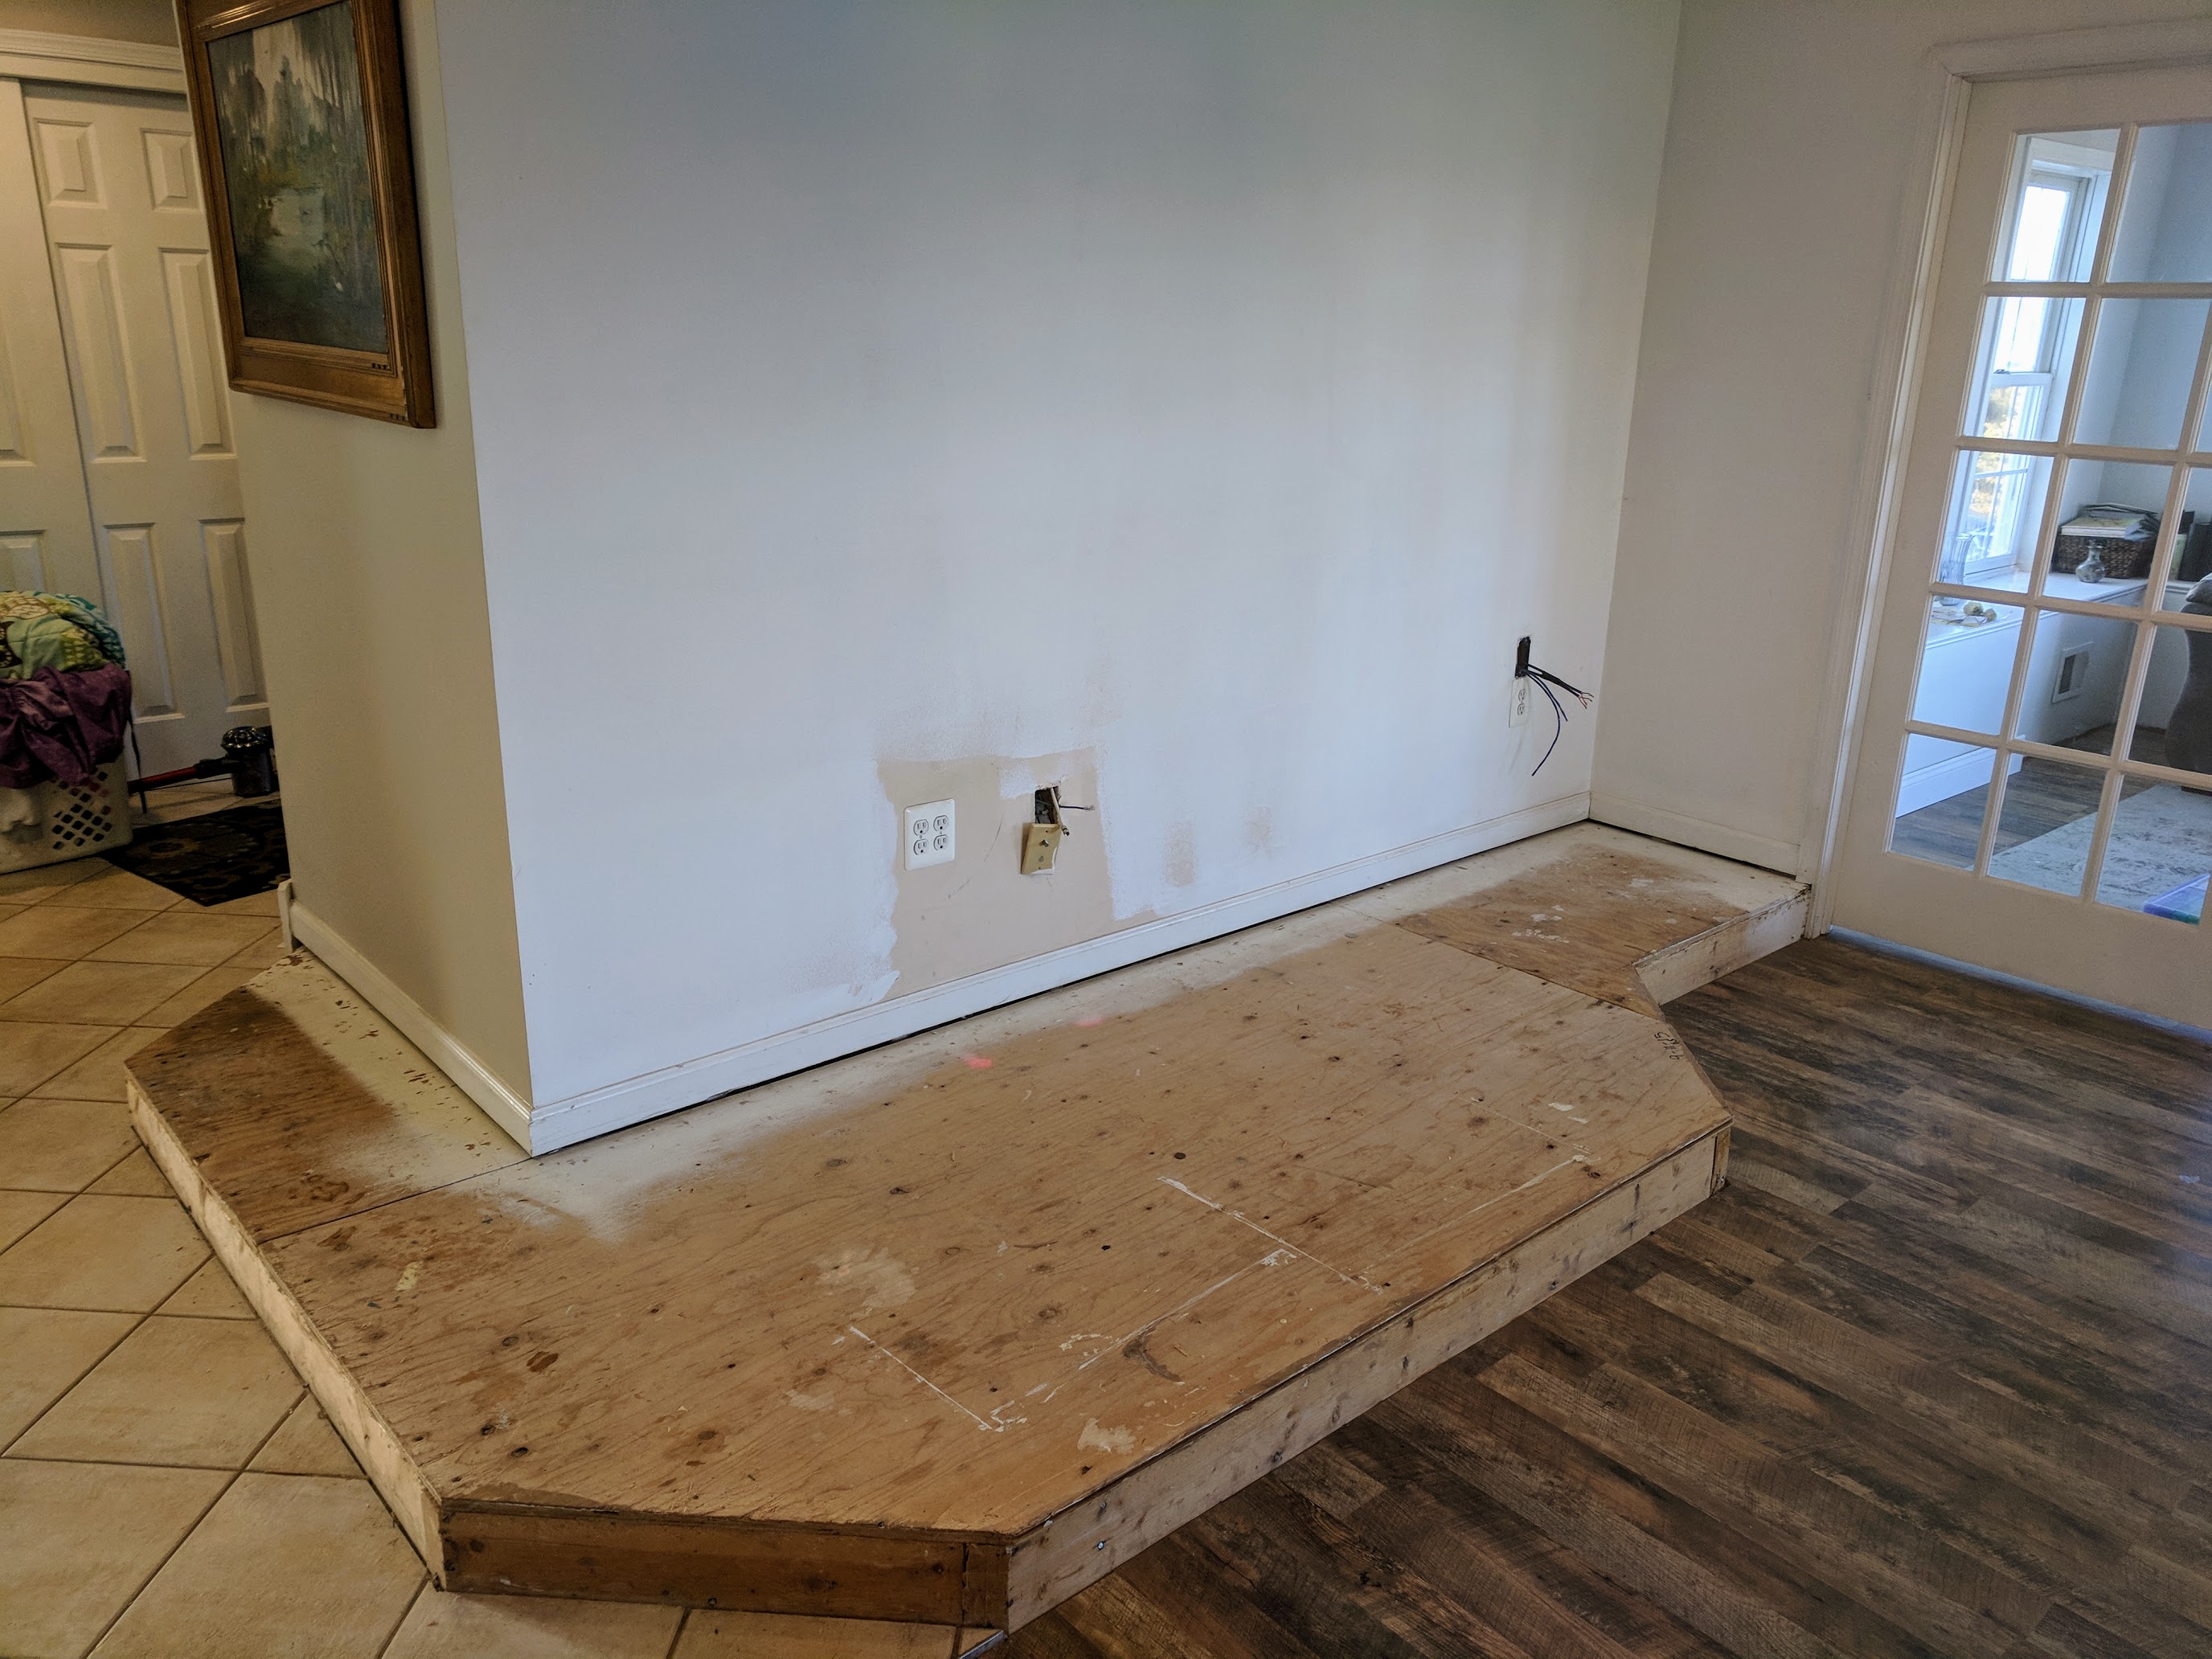
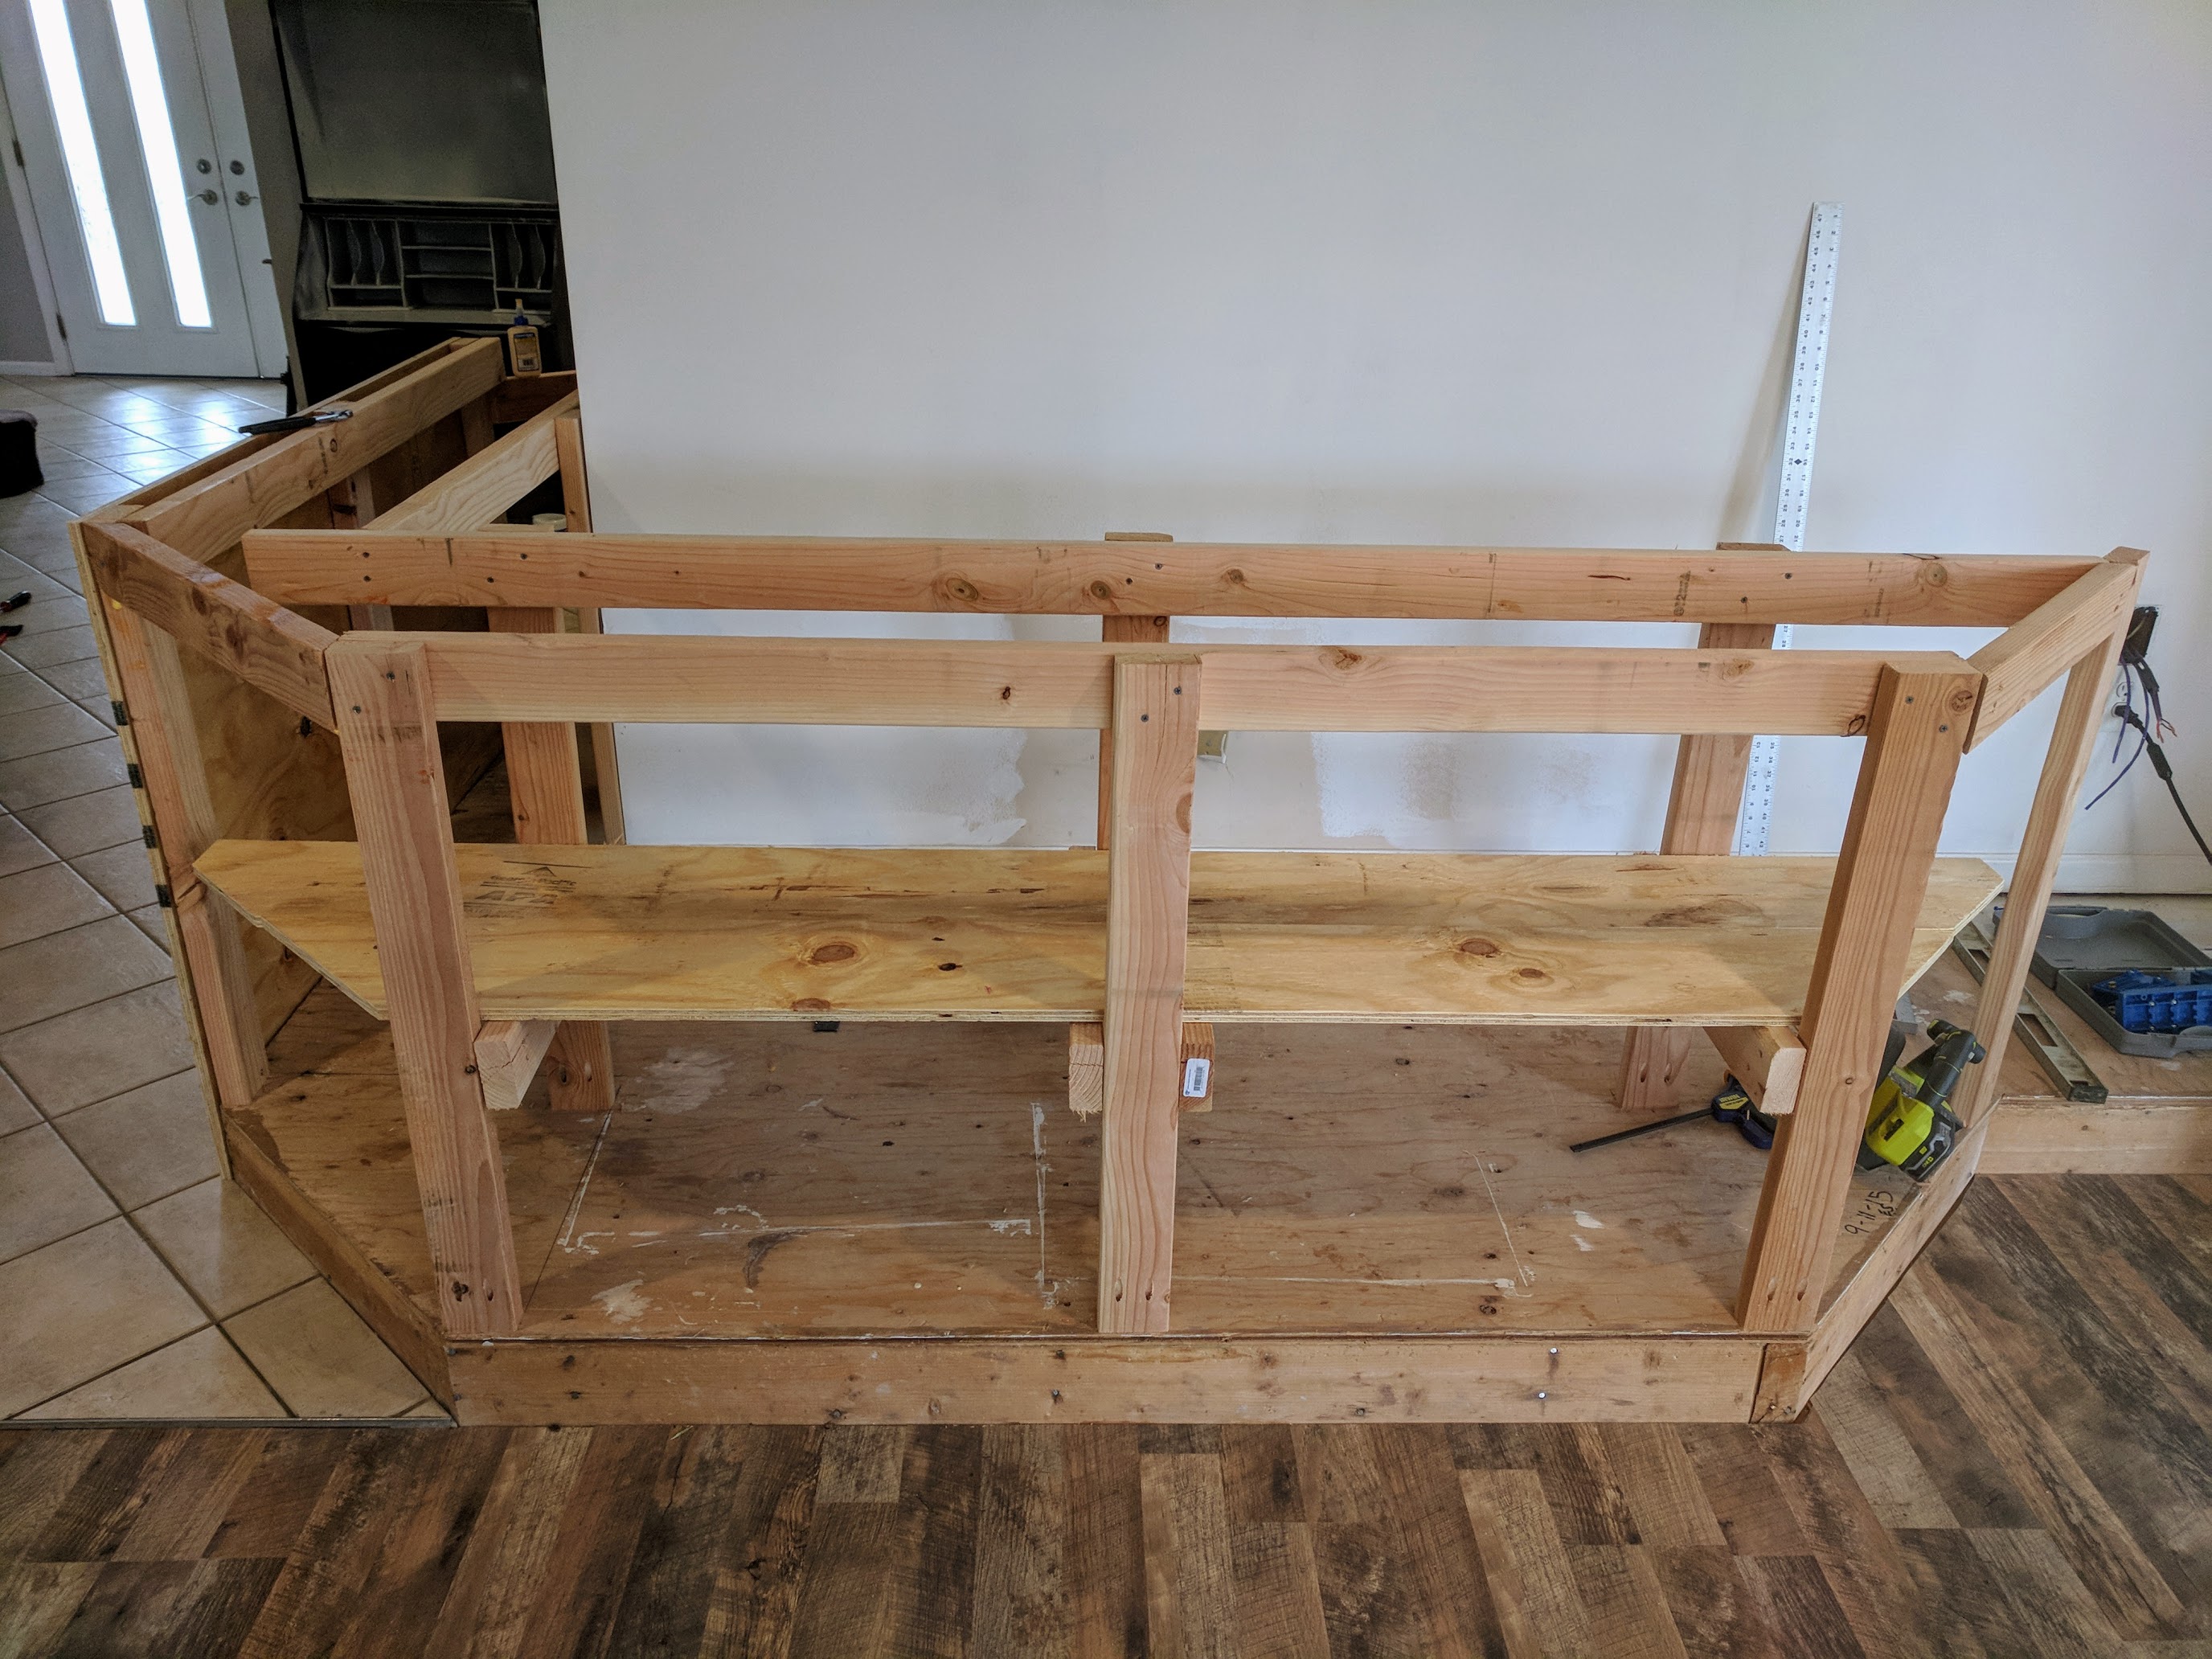
So – I took some measurements and went to the garage to see if I had enough 2x4s left from my workbench build and I did!
Figured the top of the bar should be somewhere between 40″-42″ and subtracted the 6″ from the platform and went to town cutting until I had 12 2x4s at about 34″ long.
This was a perfect opportunity to make use of the Kreg Jig I have from other projects to make sure the 2x4s were going to hold sturdy – and I could screw the right into my wooden base!
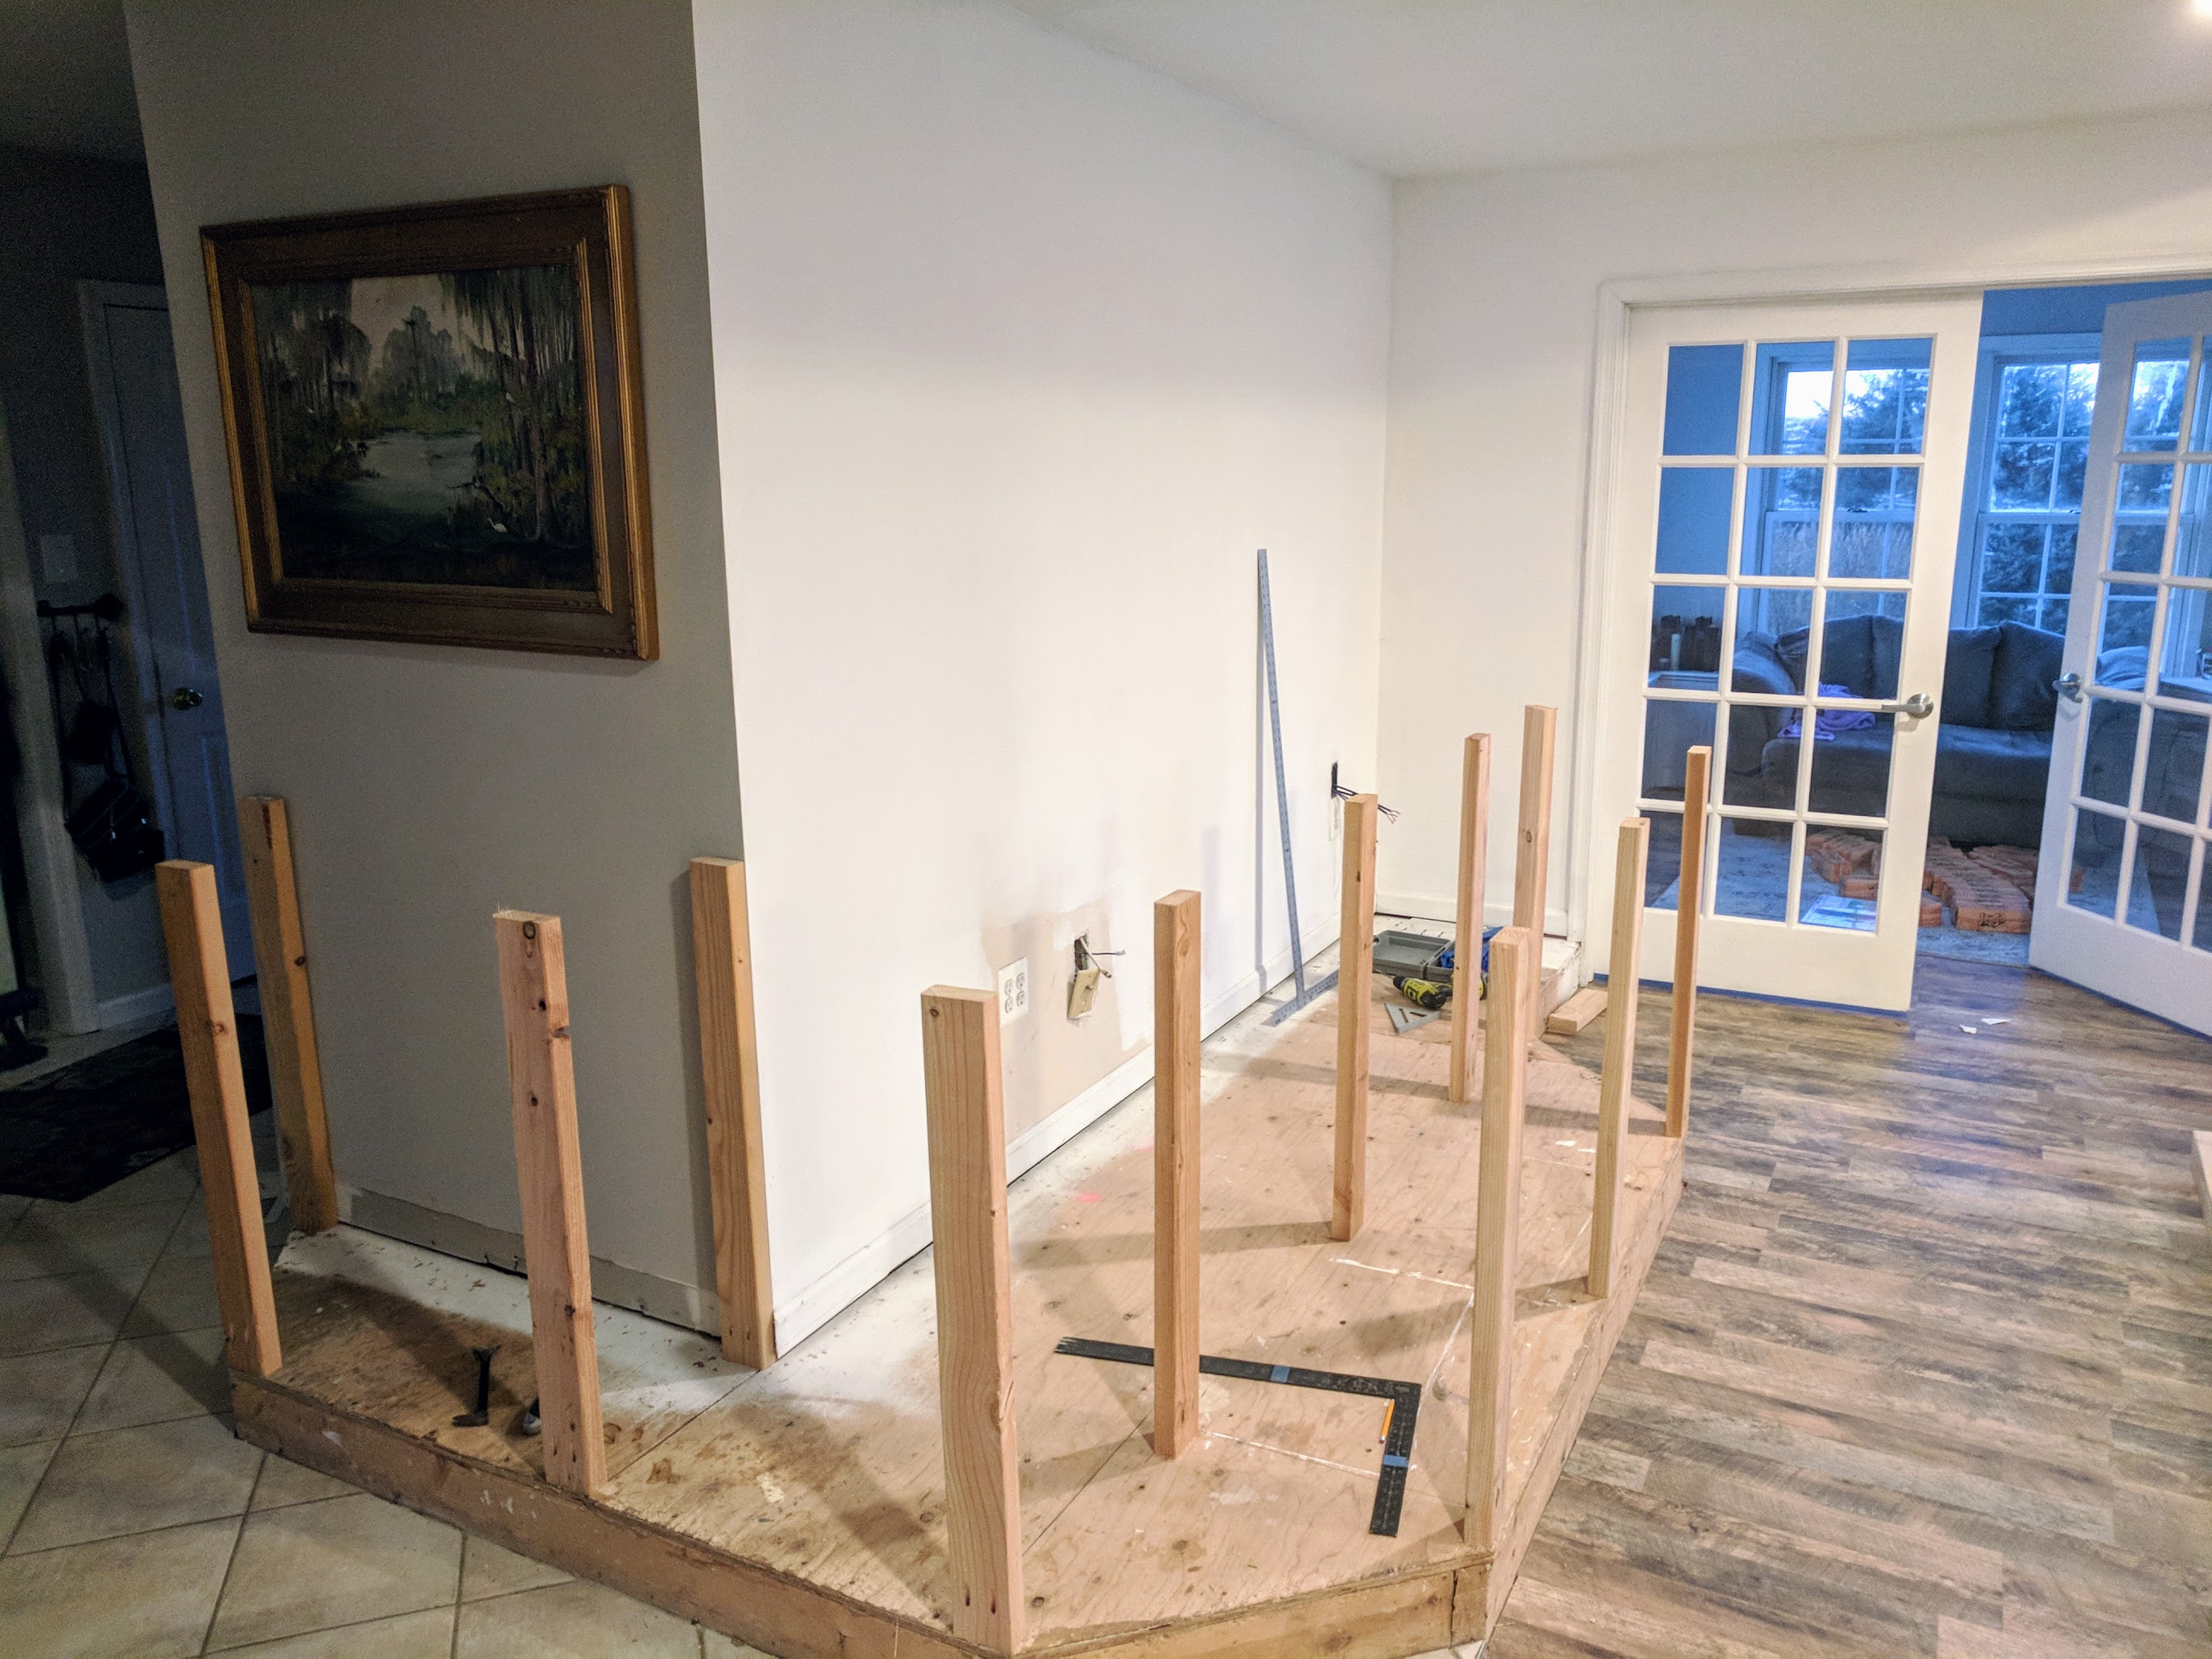
Next step was to finish framing things out so that I could put the plywood on the front.
This step will also help to insure all of the vertical boards stay vertical since I can tie them into the wall on the side there, then those into the others, etc..
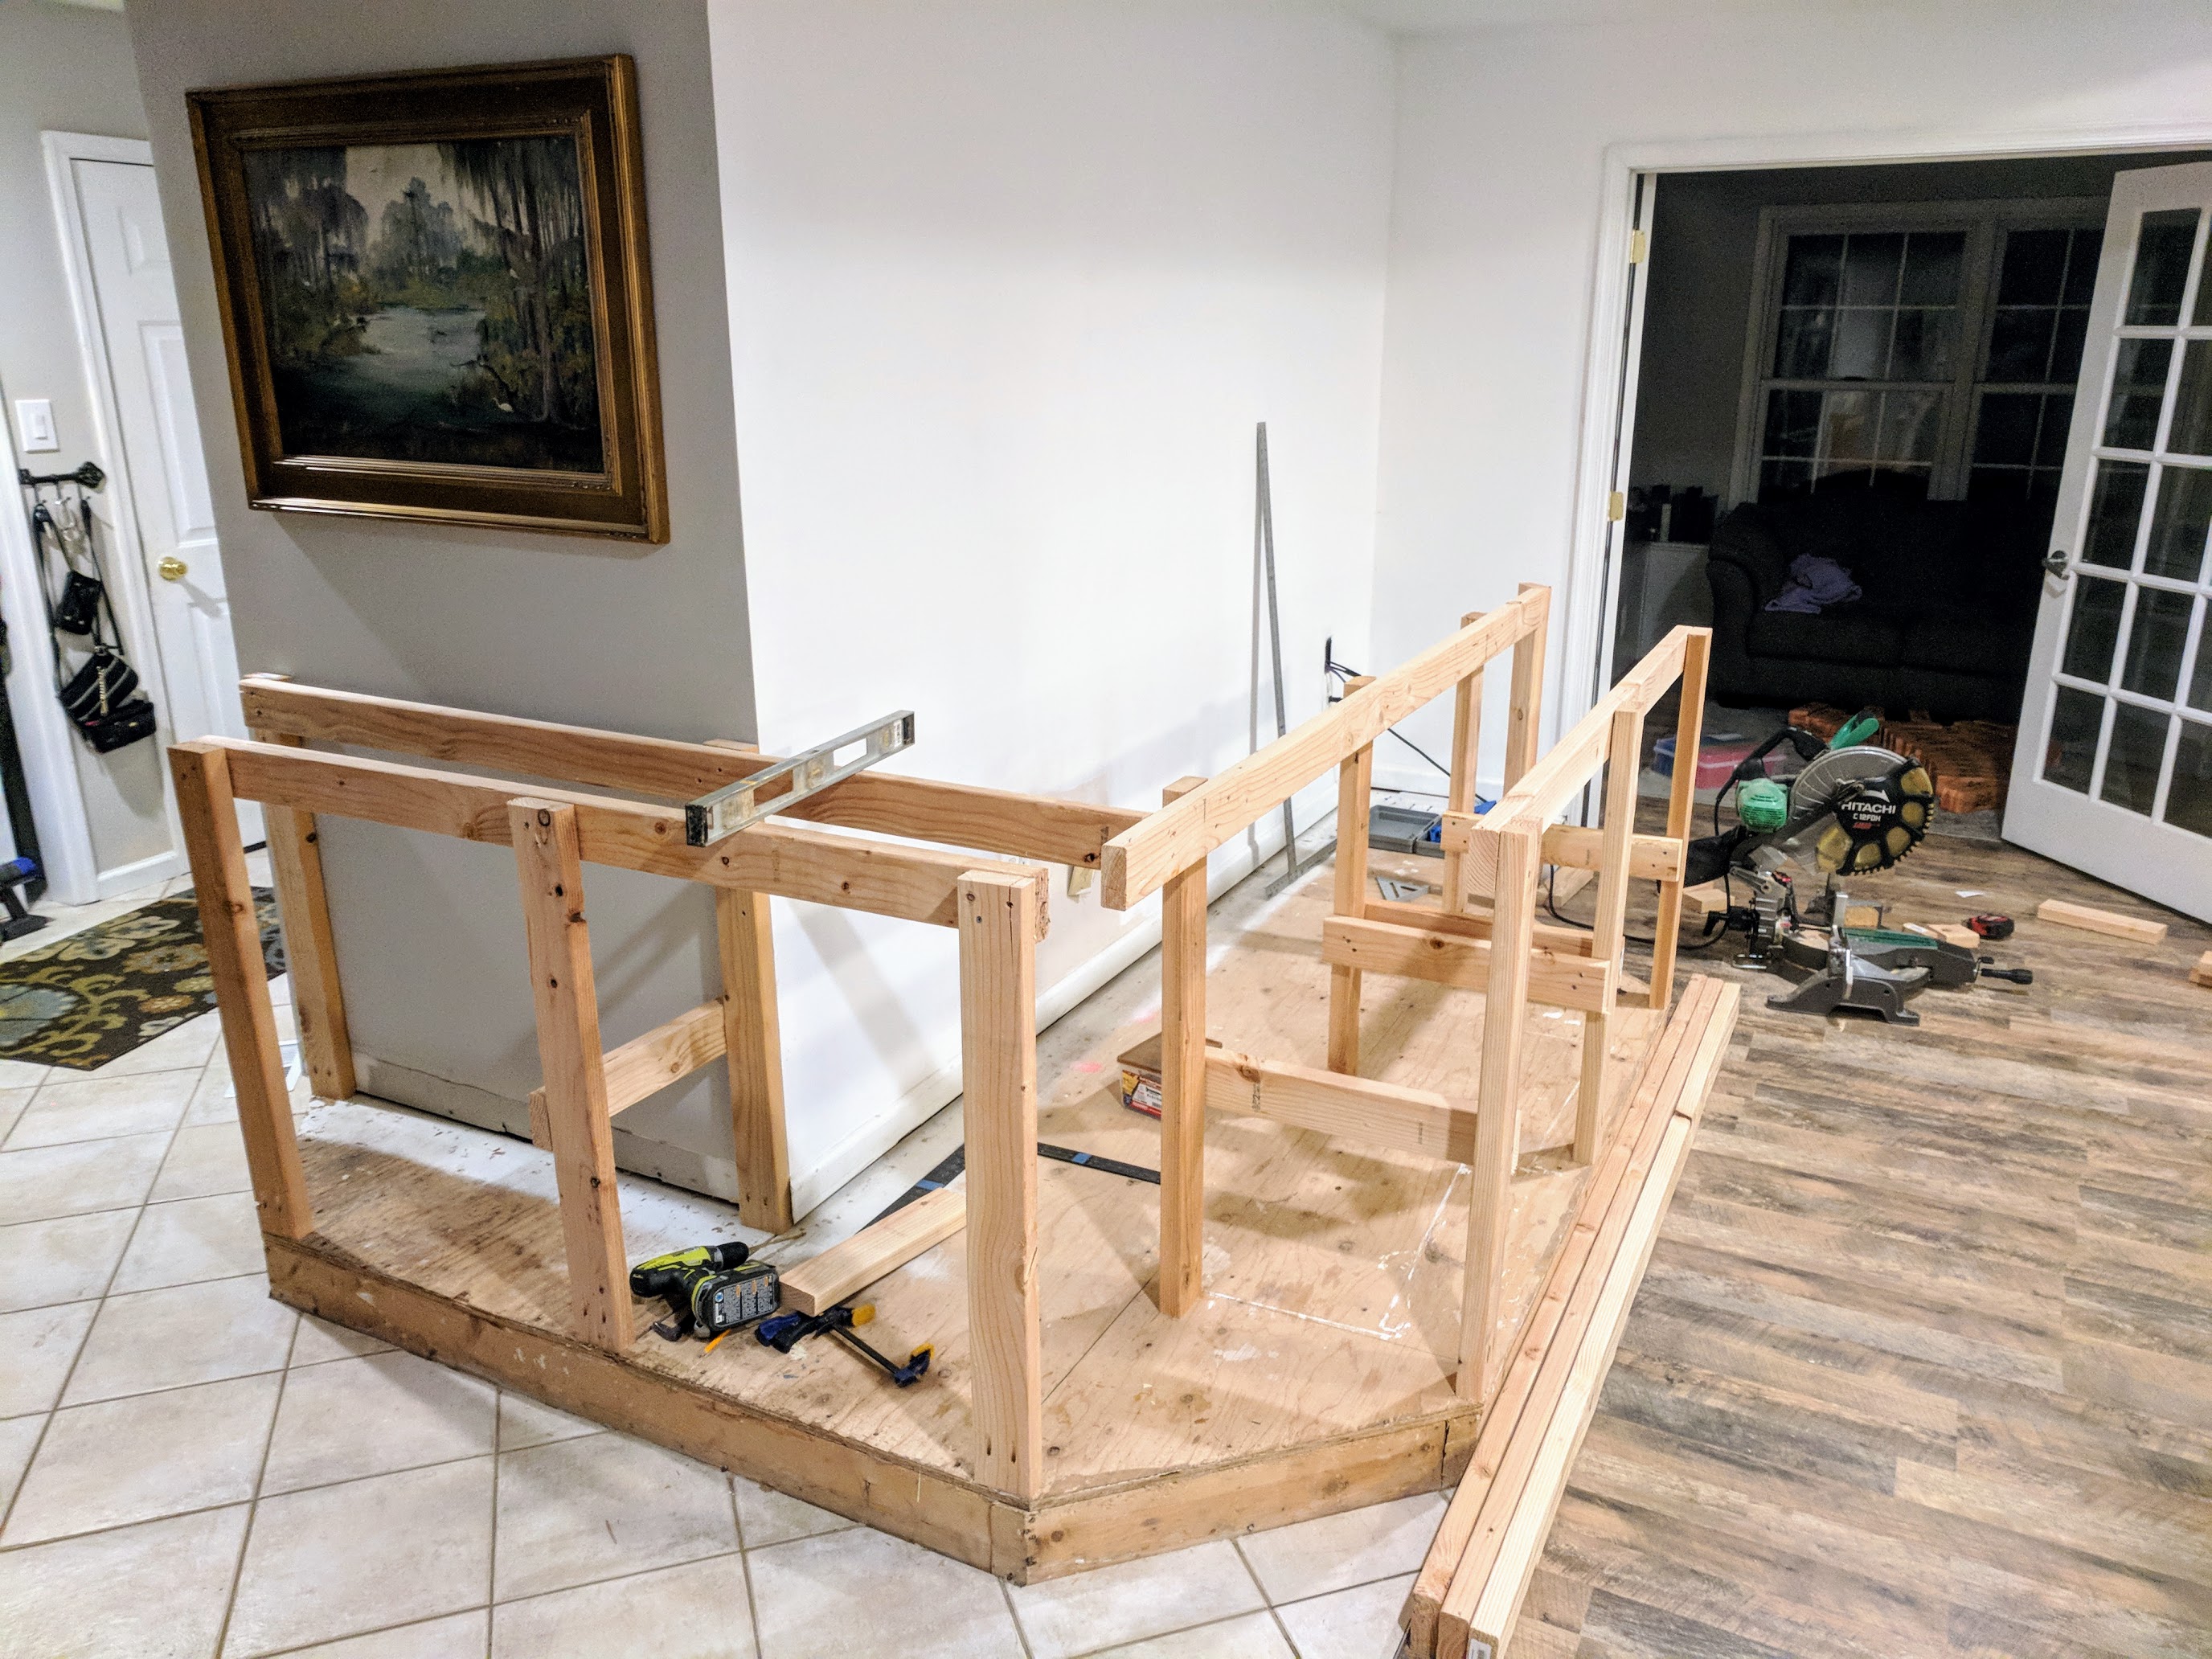
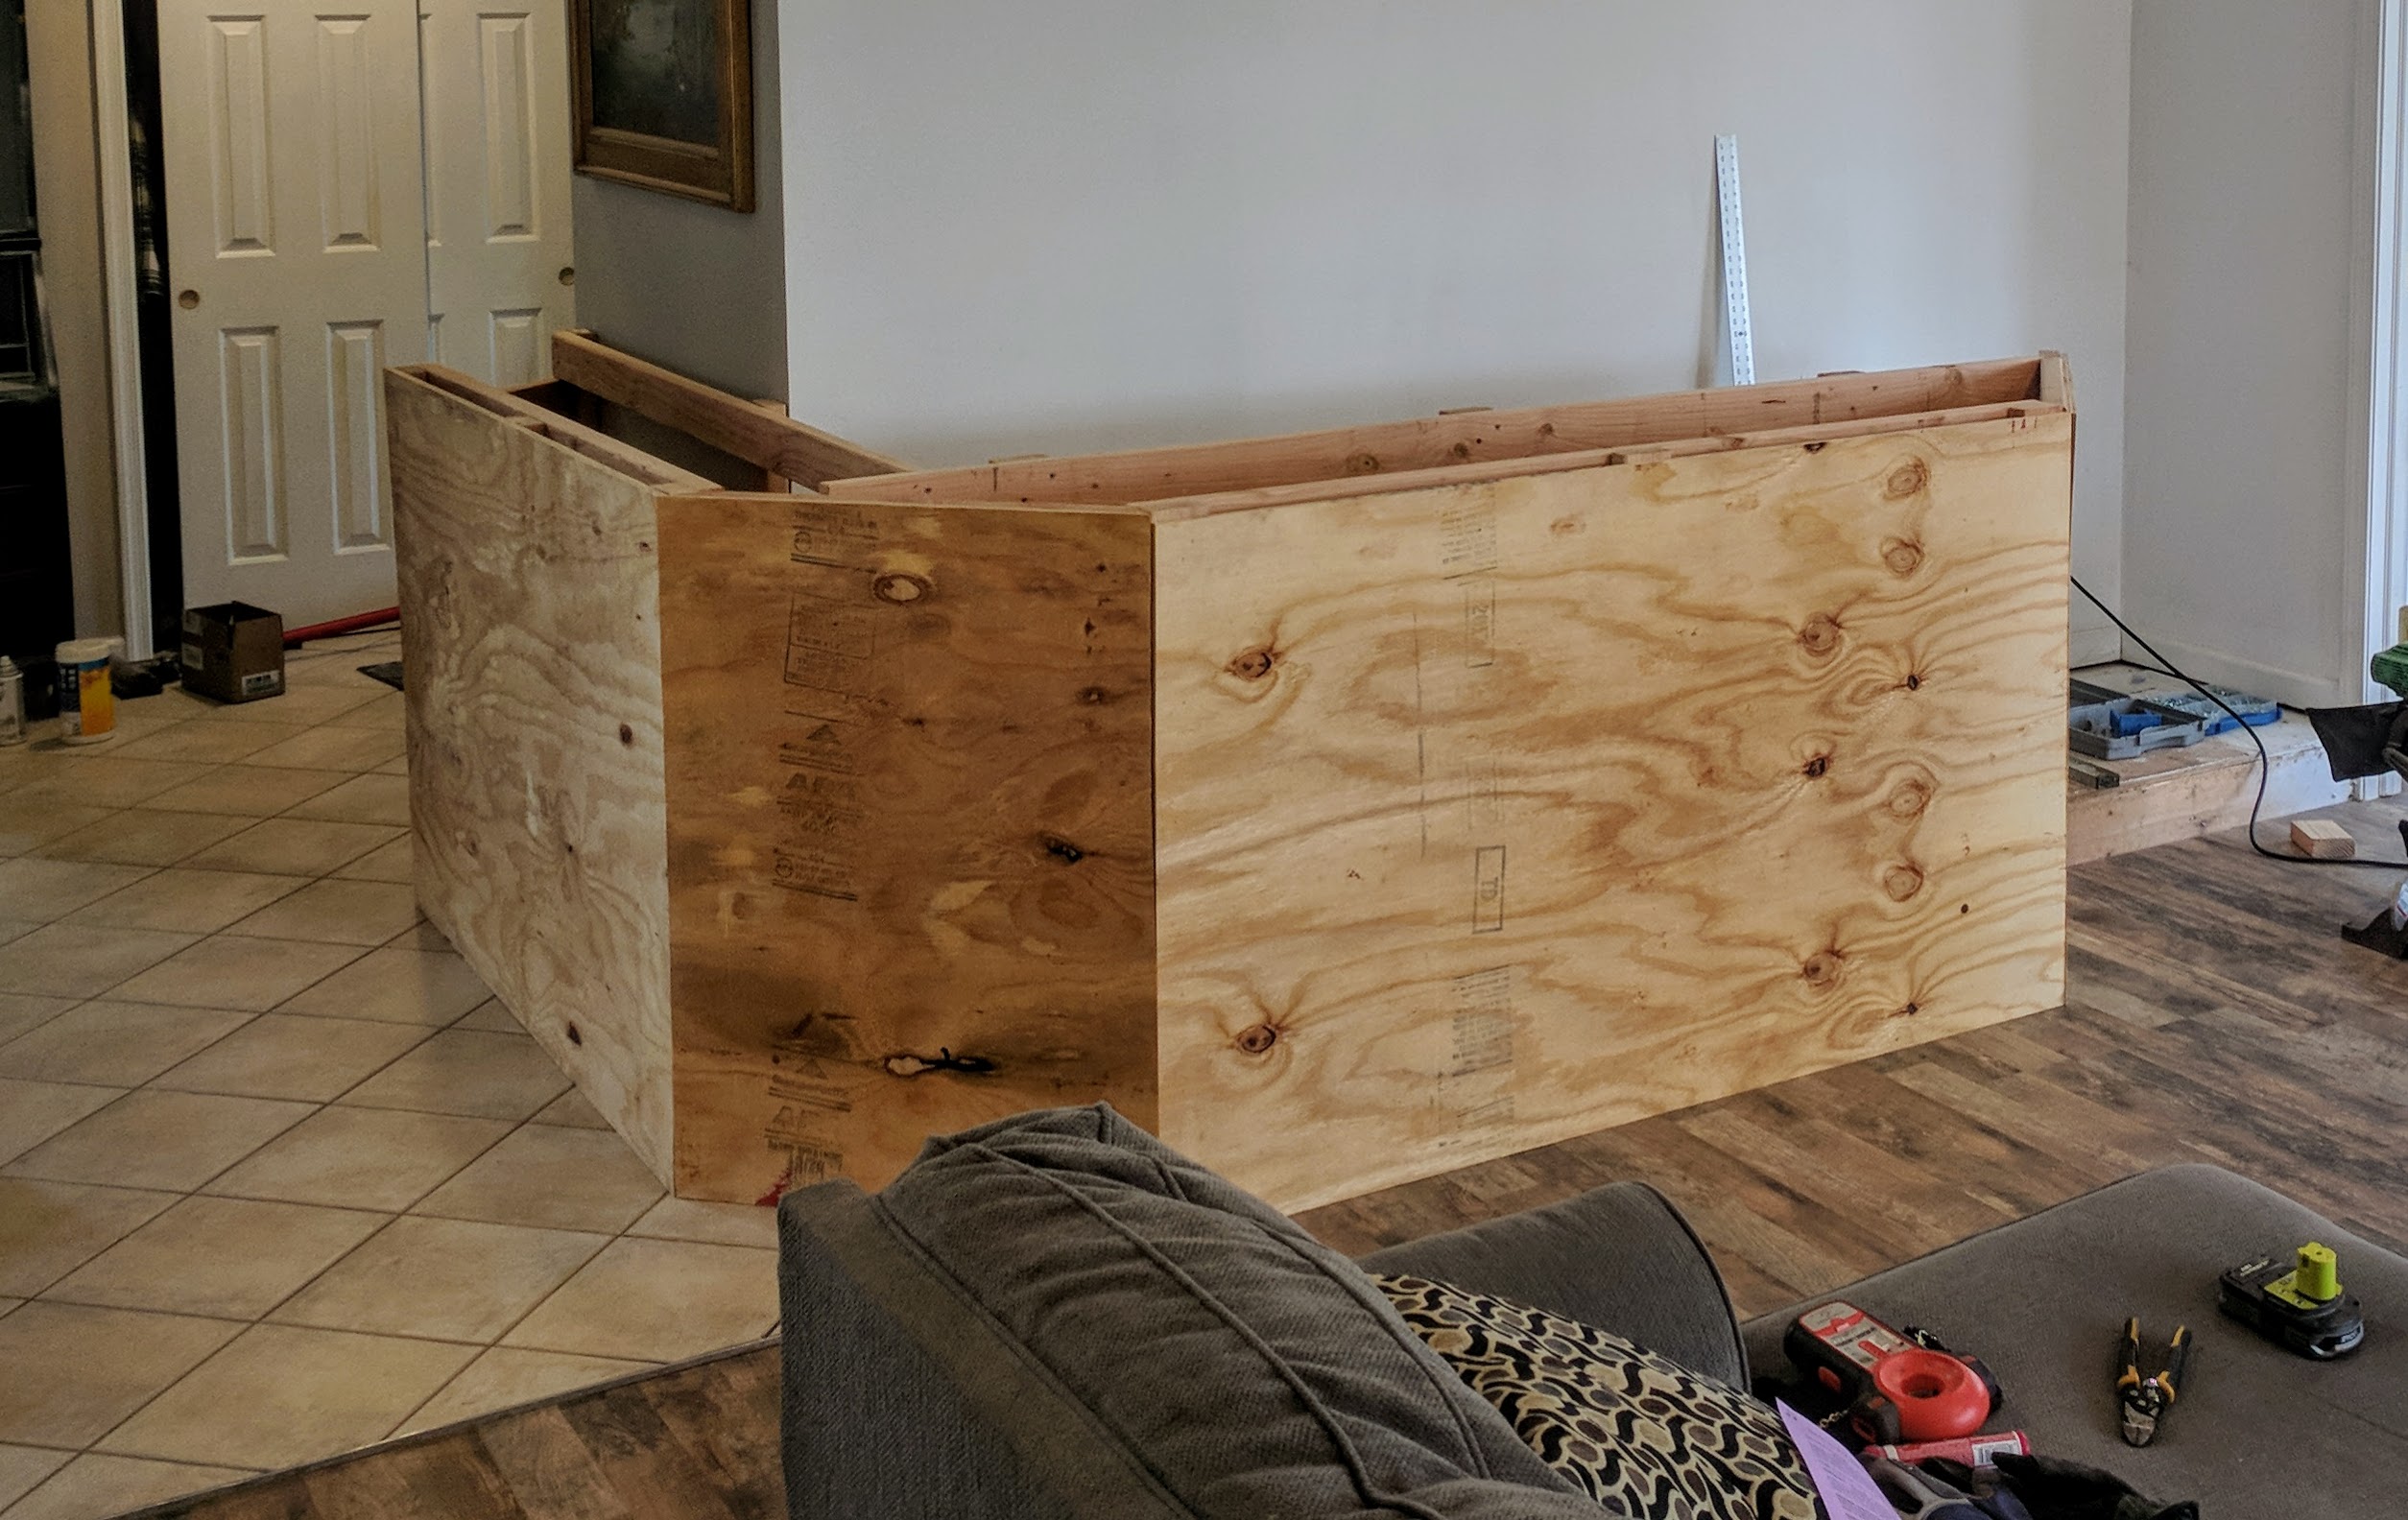
Getting there.. after adding a few more (diagonals along the top corners there) I started adding some plywood… used the scrap from ripping plywood to 39 1/4 as the front shelf even!
Next, I finished cutting/fitting the plywood front on the sides. This was a little tricky because it’s 1/2 plywood and I wanted everything to fit cleanly which required angled cuts. This isn’t going to be the final layer in the front, but still knew I wanted it as good as I could get it.
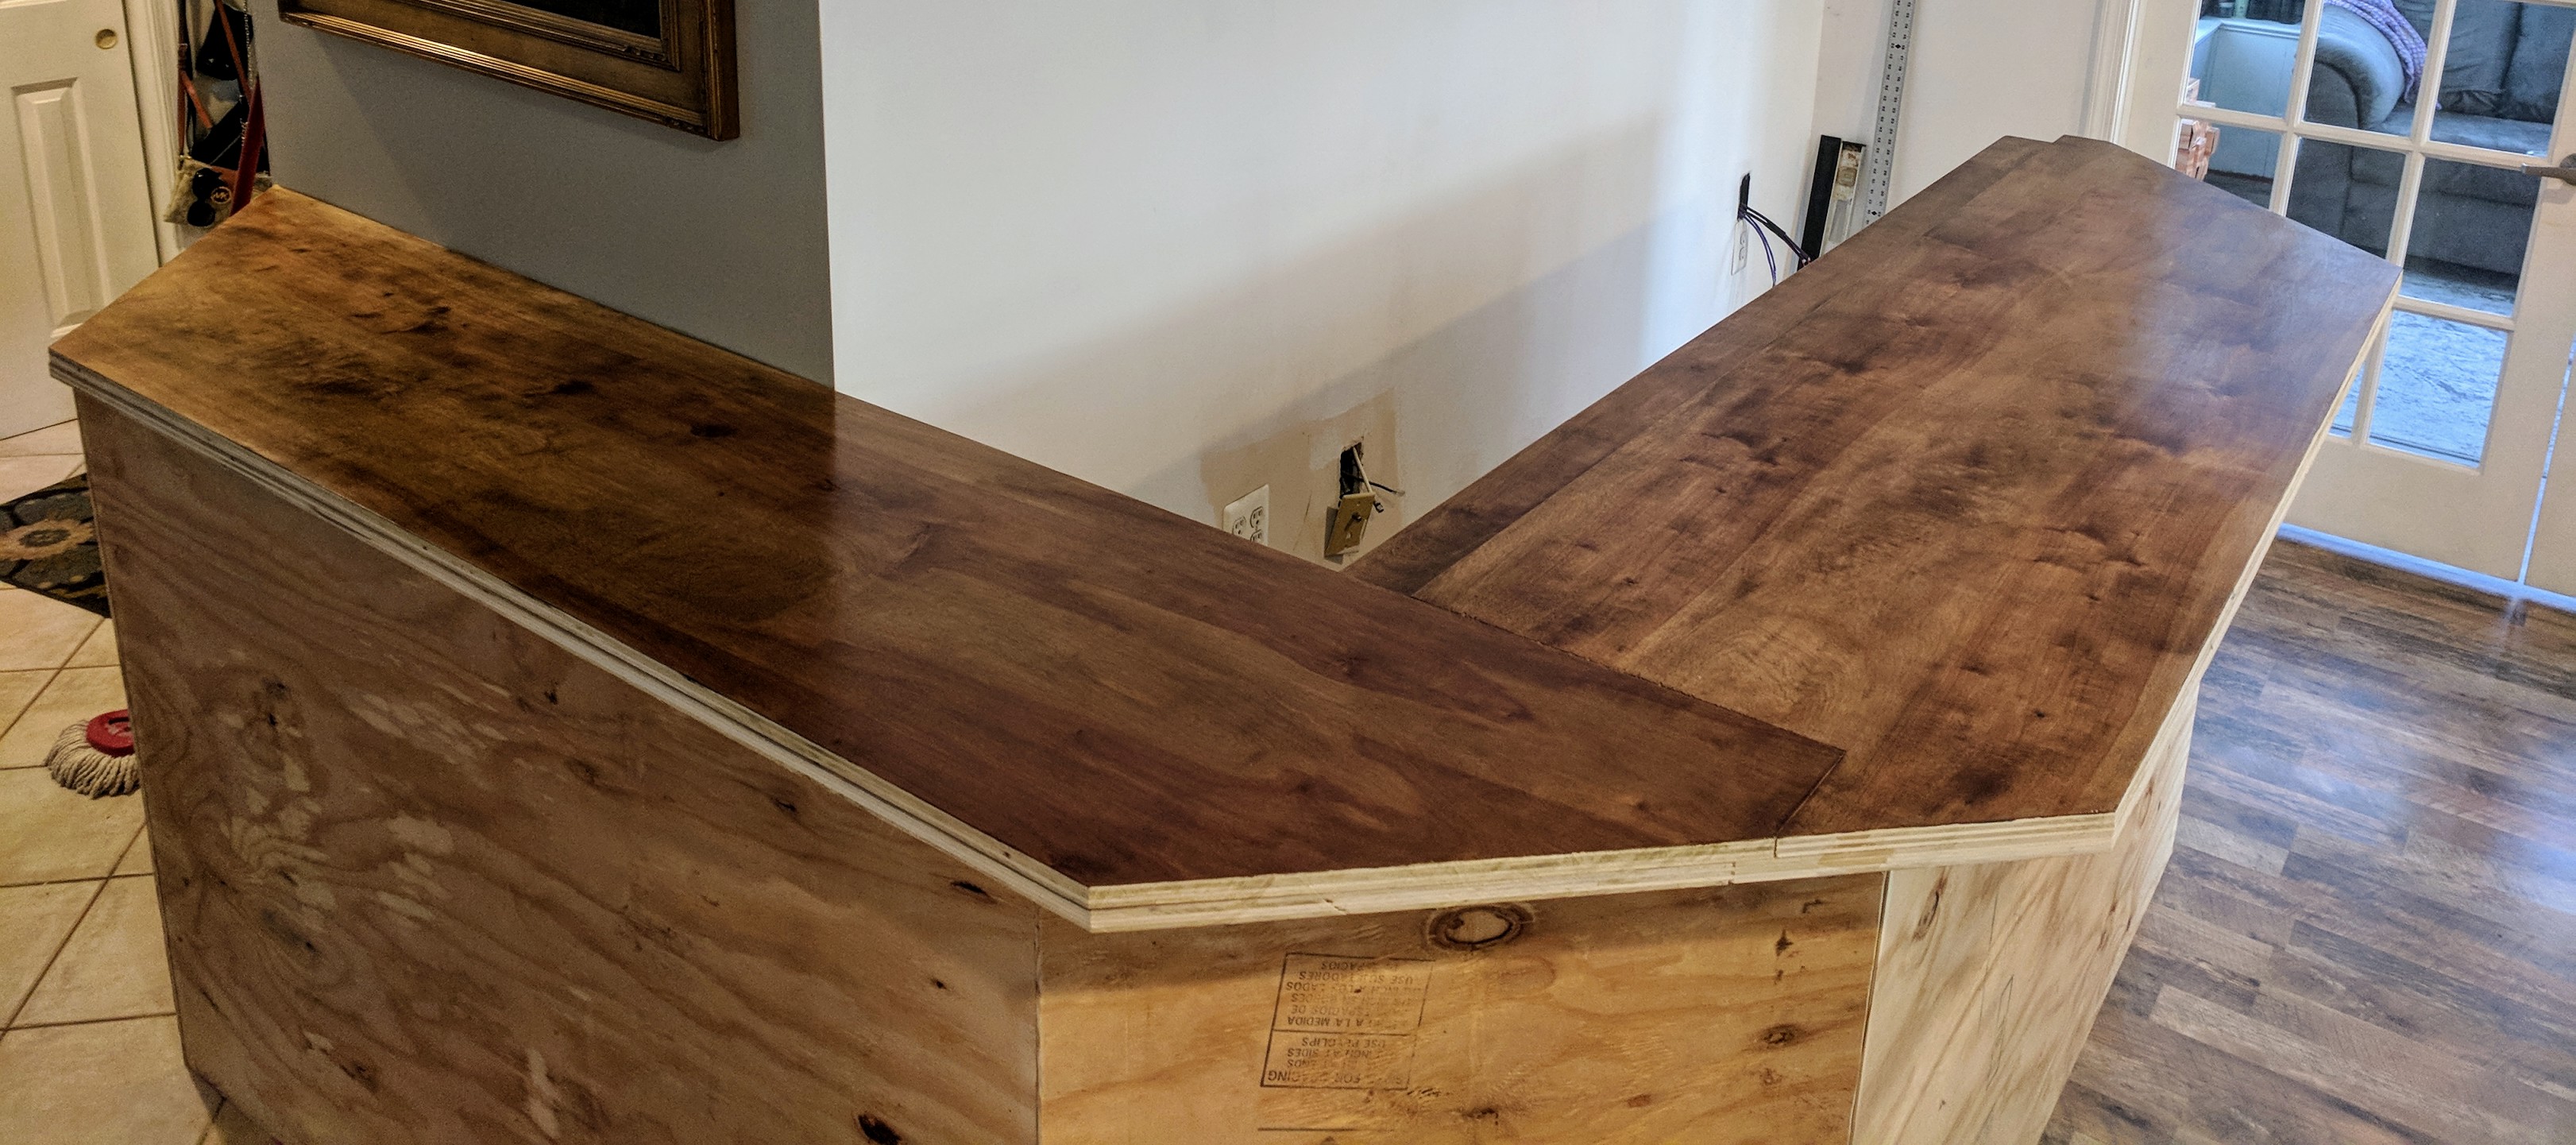
The next step was the bar top.
The wood I chose for this, since i’m not made of money, is sanded maple 1/2″ plywood. I bought two sheets. Here you can see the process of putting that on.
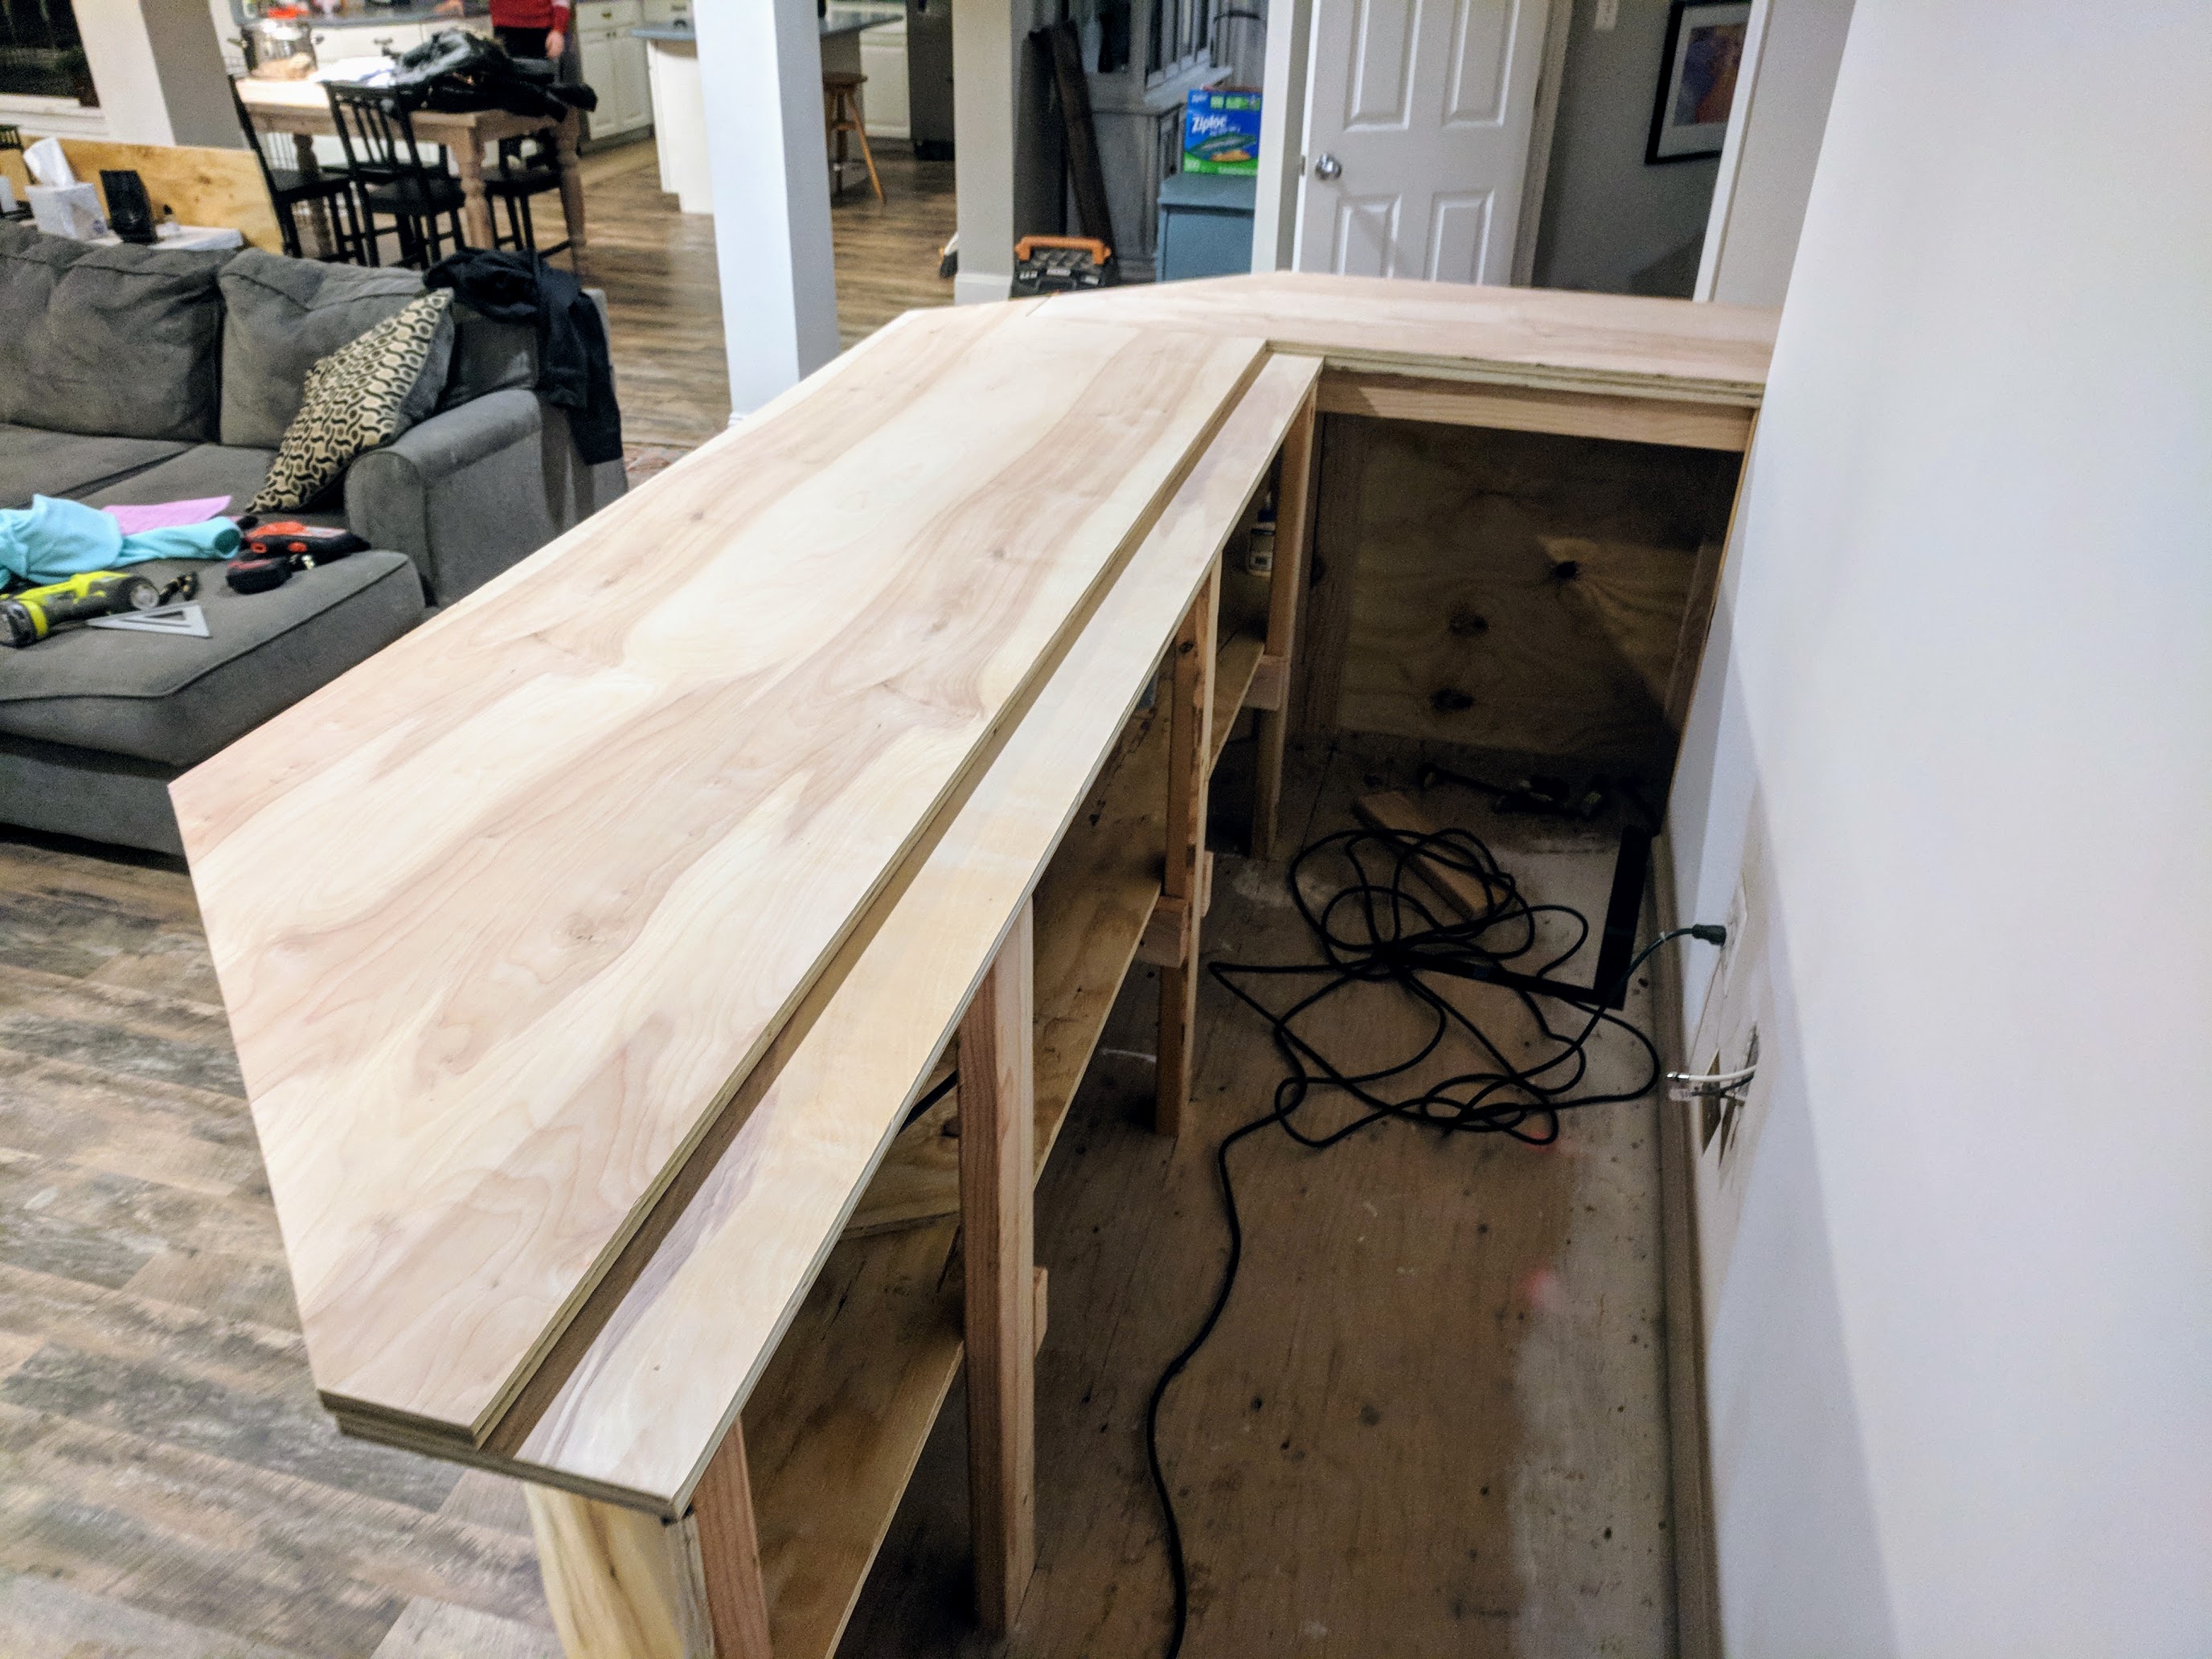
I bought two sheets. The short side of the bar comes out 24″ from the wall, so that’s one sheet cut in half, then the front of the bar comes out 28″ which works out perfect as 28″ bottom piece and 20″ top piece, leaving a nice ledge inside for the drip tray.
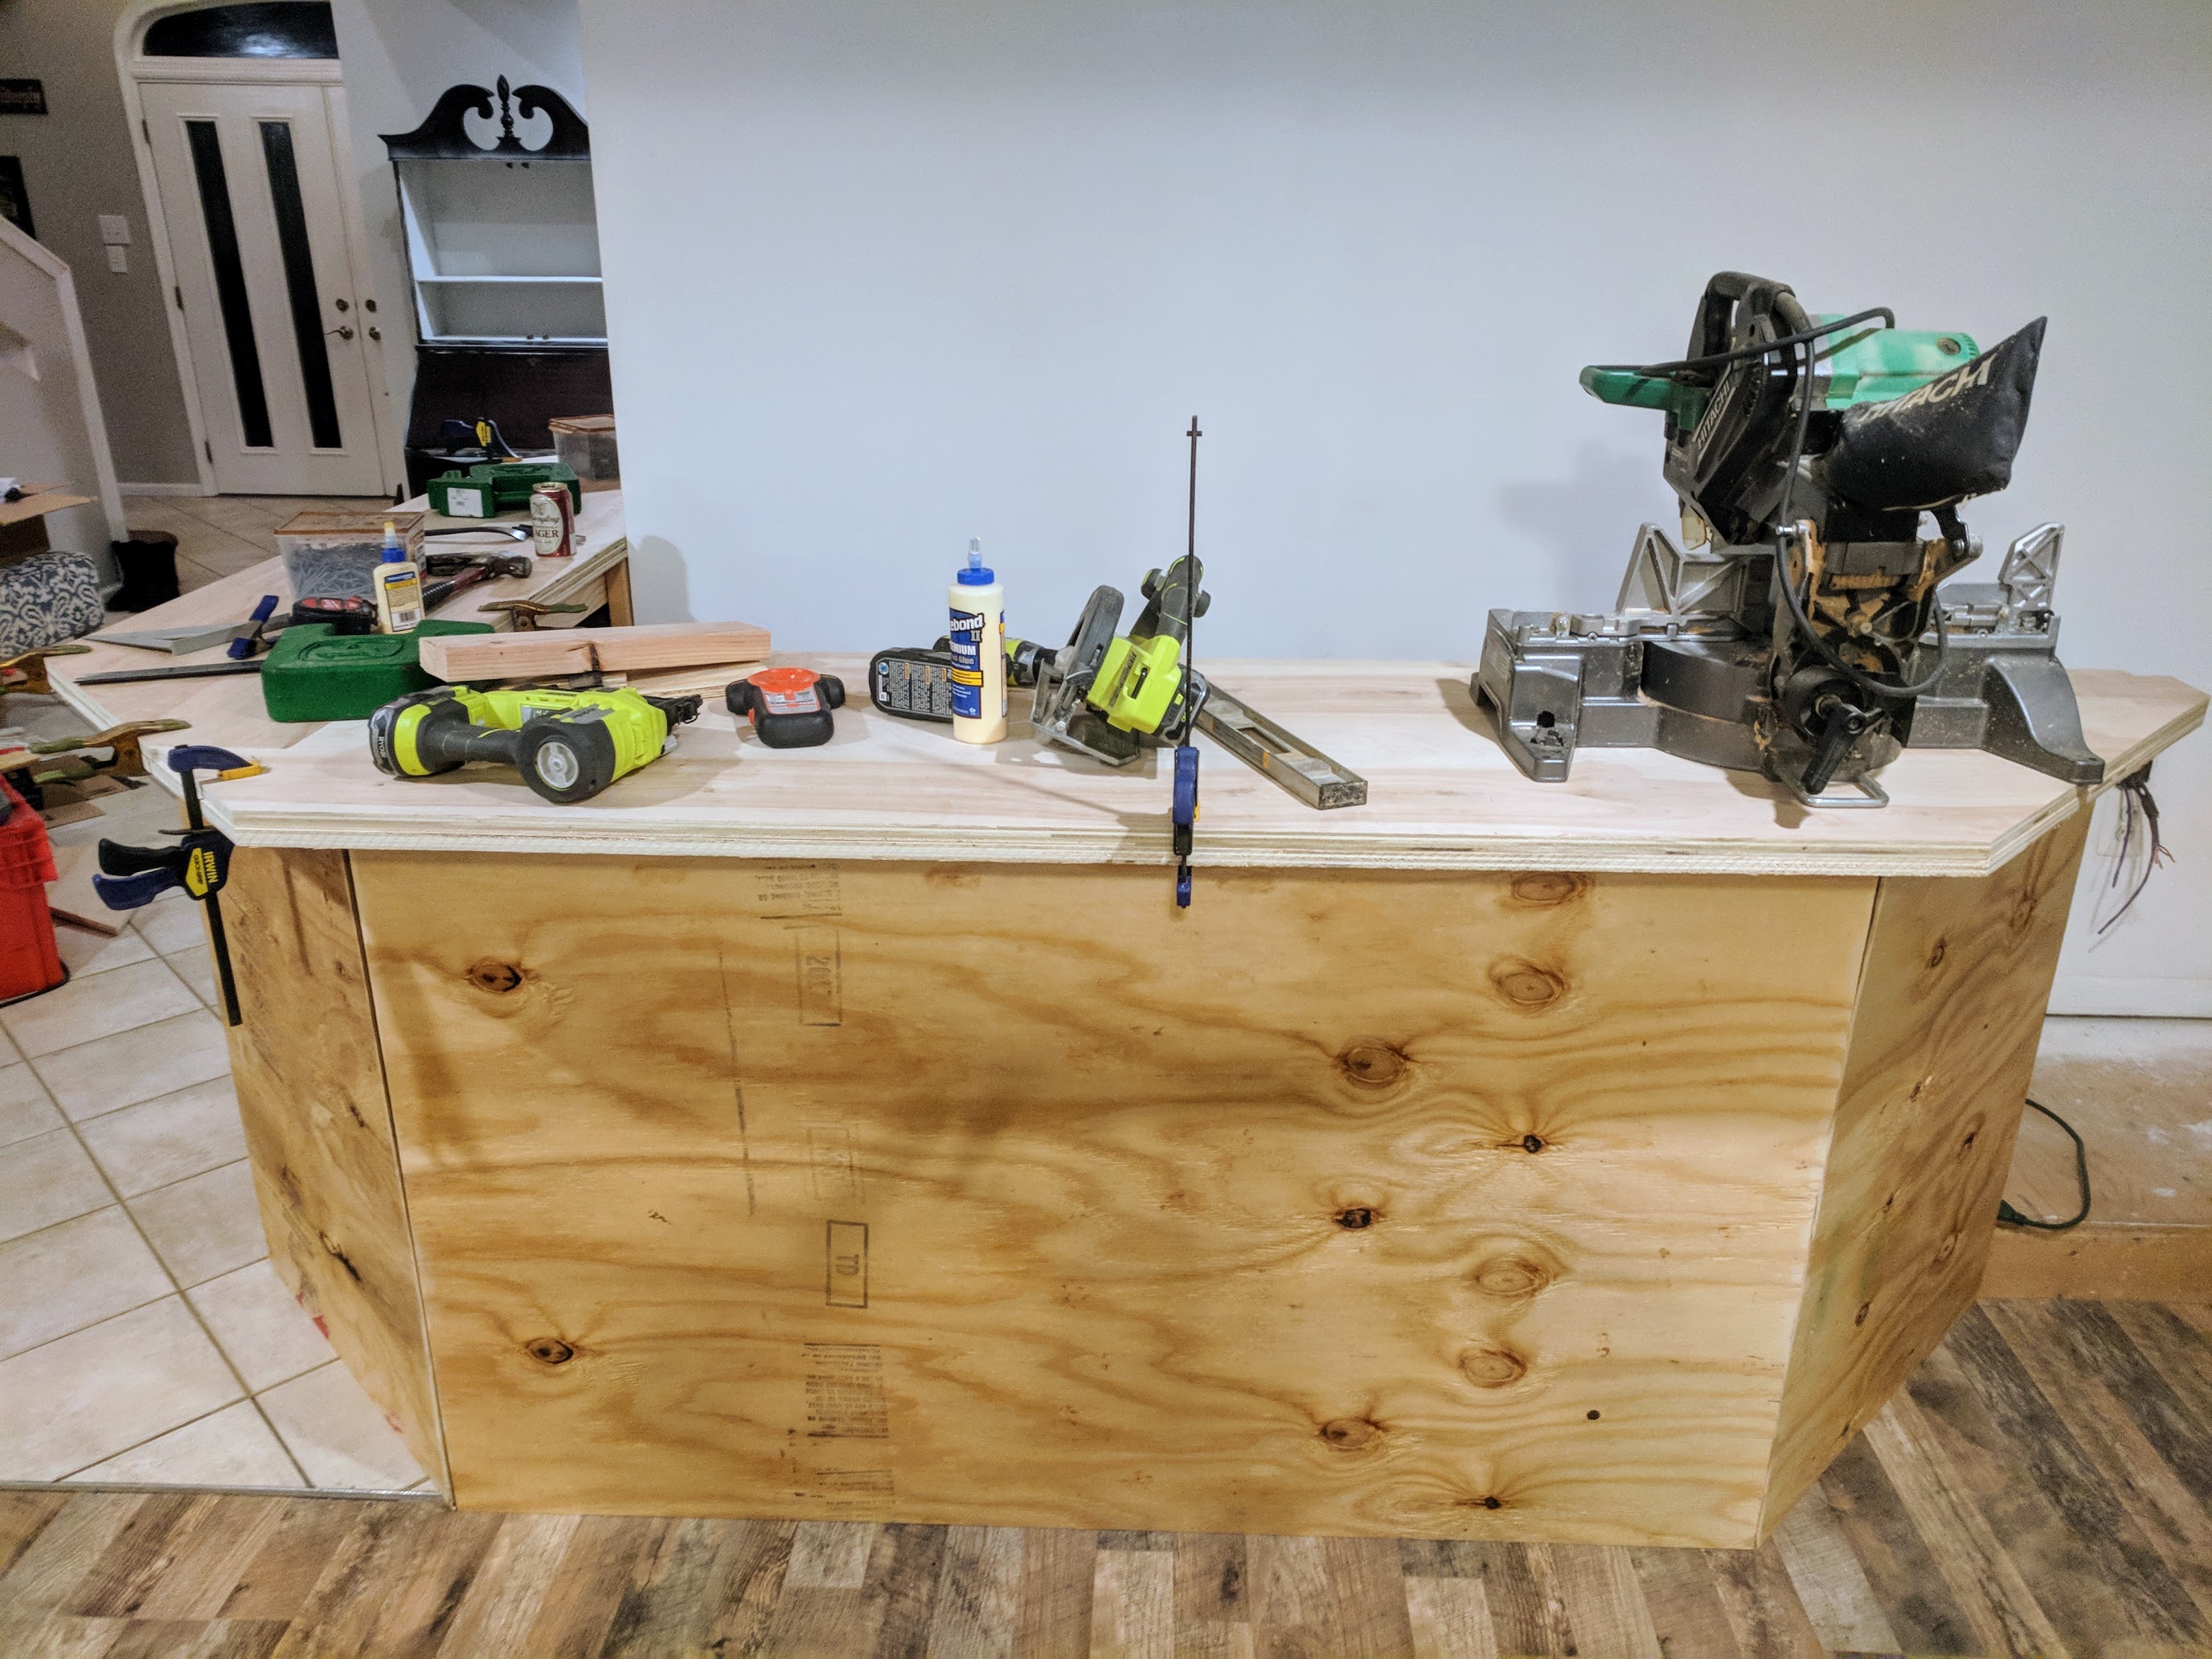
After wood gluing the top piece, I put all my tools and clamps on it to weigh it down overnight 🙂
I chose the maple 1/2″ because I figured about 1″ of total bar top thickness would be perfect for our application, and it was cheap enough to get two sheets.
The next day, my wife sanded, stained, sanded, stained, sanded, sealed (polycrylic), sanded.. you get the idea until it looked like this…
After that, I used some 1×2 lengths of pine and capped off the ends/edges to give it a finished touch
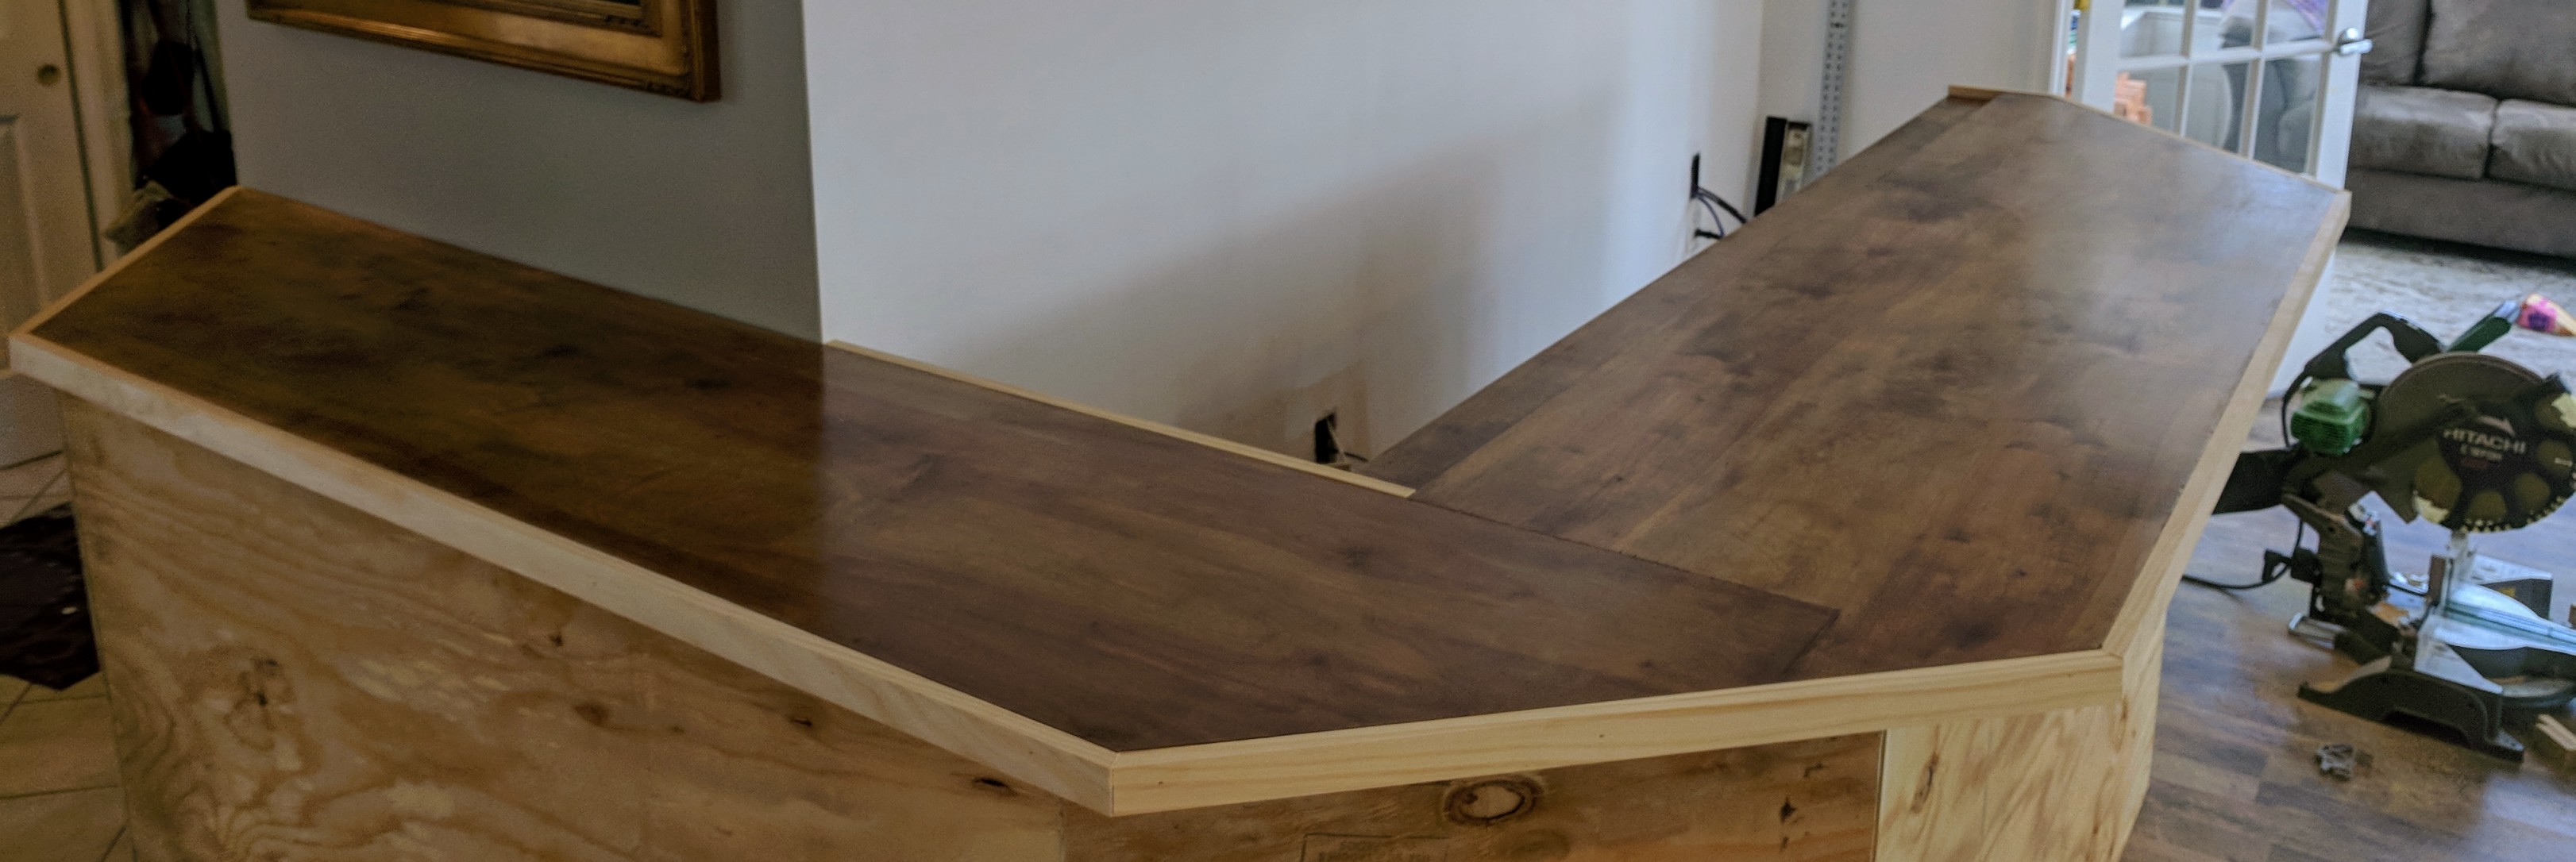
For the sides…